In this tutorial we will create and use a self signed certificate in Apache2.
A self signed certificate as the name suggests is emitted and signed by the same entity. Technically we will sign the certificate with our own private key.
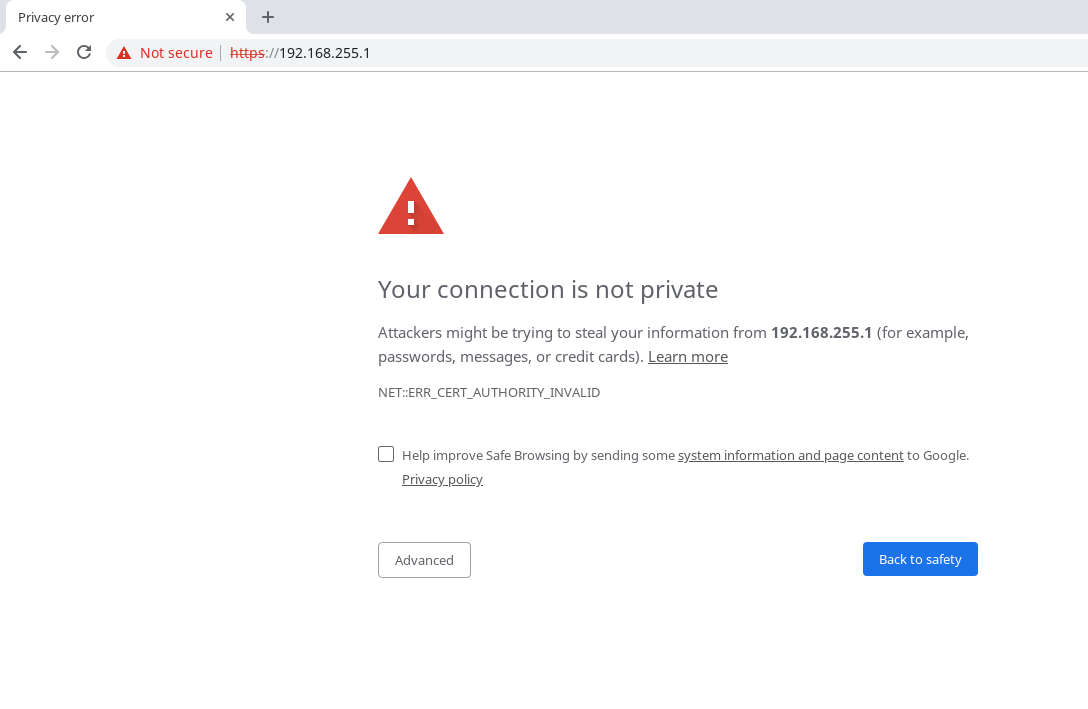
Self signed certificates should be used only internally, as you see in the image below, browsers will flag the website as not secure, because the certificate is not signed by a trusted authority.
This tutorial was tested on Debian 9.6, root privileges are required.
1. Create cert in the apache2 configuration directory
mkdir /etc/apache2/cert2. Create the private key and sign the certificate, valid for 365 days.
You will be asked to enter information that will be incorporated into your certificate.
openssl req -x509 -nodes -days 365 -newkey rsa:2048 -keyout /etc/apache2/cert/default-self.key -out /etc/apache2/cert/default-self.crt3. Enable the ssl module for Apache2
a2enmod ssl4. Edit /etc/apache2/sites-enabled/default-ssl.conf with the following configuration, in my example I use 192.168.255.1 as ServerAlias.
NameVirtualHost *:443
<VirtualHost *:443>
DocumentRoot /var/www/html/
<Directory /var/www/html>
        Options Indexes FollowSymLinks MultiViews
        AllowOverride All
</Directory>
ServerName 192.168.255.1
ServerAlias 192.168.255.1
ErrorLog ${APACHE_LOG_DIR}/error_ssl.log
CustomLog ${APACHE_LOG_DIR}/access_ssl.log combined
SSLEngine on
SSLCertificateKeyFile /etc/apache2/cert/default-self.key
SSLCertificateFile /etc/apache2/cert/default-self.crt
</VirtualHost>
5. Enable default-ssl site
a2ensite default-ssl6. Reload Apache2
systemctl reload apache27. Check the certificate
echo | openssl s_client -servername 192.168.255.1 -connect 192.168.255.1:443 2> /dev/null | openssl x509 -text